Introduction
This article presents the core level design guidelines for the Exploration game mode for Glyph. The Exploration game mode is the primary game mode of Glyph.
This article outlines the rules of the game mode and delves into the level design guidelines for the mode. This article is made publicly available for those who may have interest in the design and development process of Glyph.
Rules
In order to fully grasp the level design guidelines written in this article, it is important to understand the rules that apply to this game mode, and to be familiar with Glyph in general.
The following is a short walk-through of the rules that defines the Exploration game mode of Glyph. If you are familiar with Glyph, you can probably skip this section.
Goals
The main goal in the Exploration game mode is to obtain all collectables. These collectables are scattered across the level and it is up to the player to overcome the challenges presented in the level and collect them.
The types of collectables found in this mode are coins, gems, keys, artifacts, and a hidden avatar capsule. The player is free to go for any amount of the collectables in a level without collecting all of them. The player must however collect all keys in order to unlock the level’s exit portal which must be entered in order to complete the level.
Failure
The Glyph (the player character) will explode if it collides with the terrain (sand, snow, or clouds) or any other hostile surface. In that scenario, the player will respawn at the level’s start location. The collectable types; keys and avatar capsules, are lost when the Glyph explodes, and will reset to their original positions.
Movement Abilities
There are no movement restrictions in the Exploration game mode. All movement abilities (roll, jump, double jump, smash, and glide) are available to the player.
Collectables
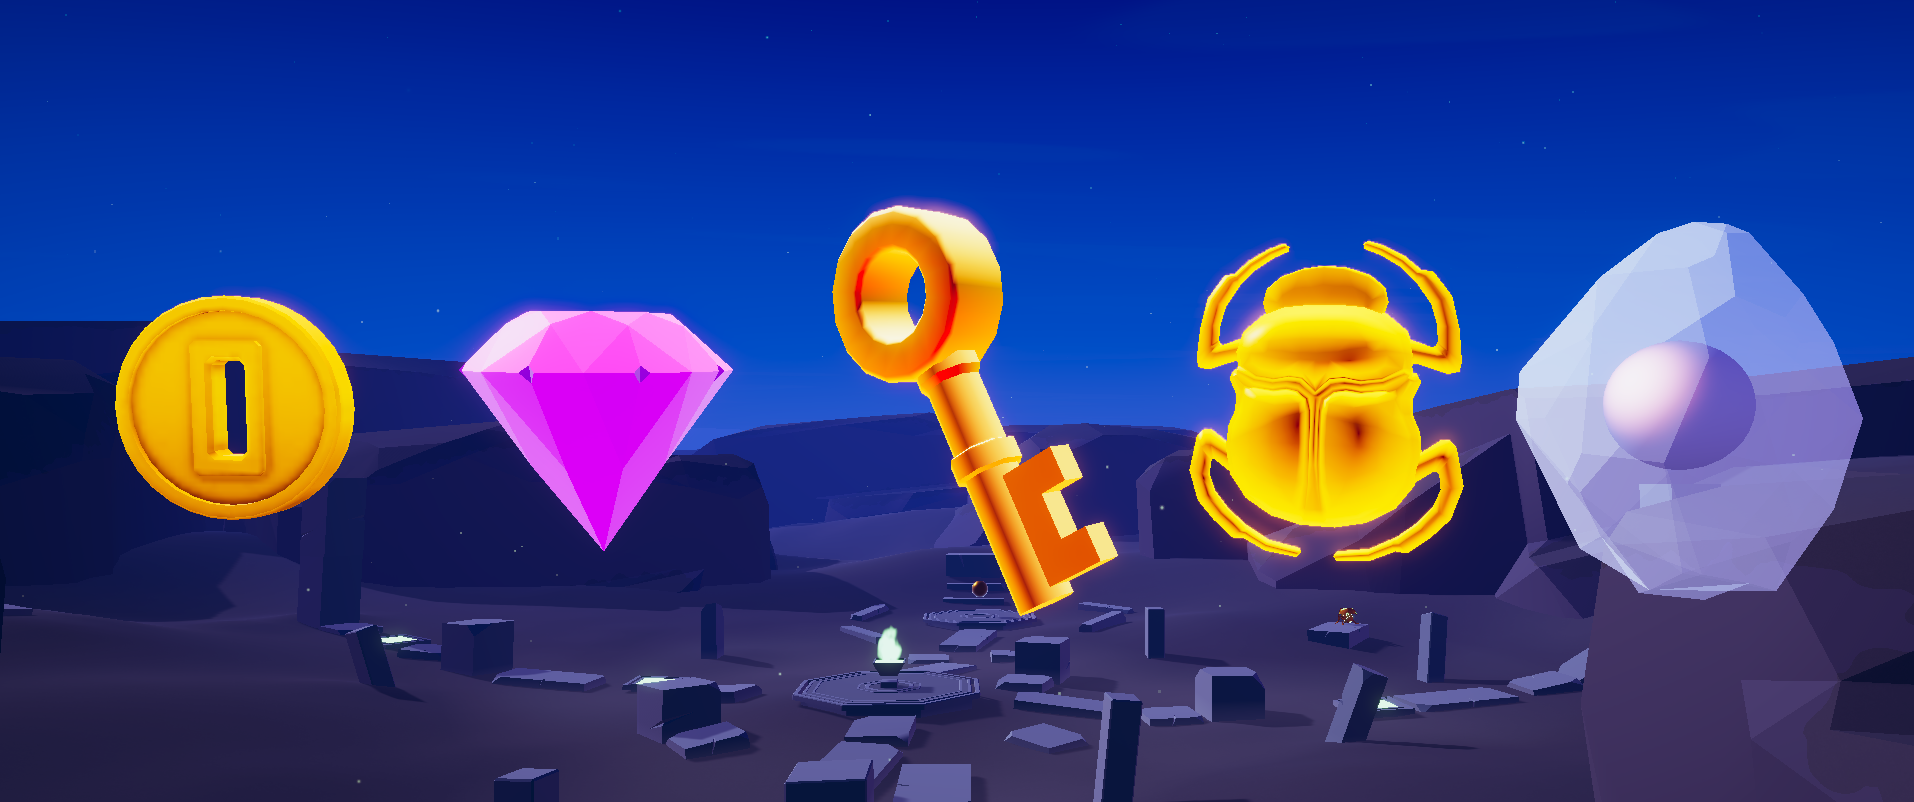
The Exploration game mode is the only mode that contains all collectable types except for the cosmetic trail item.
Coins
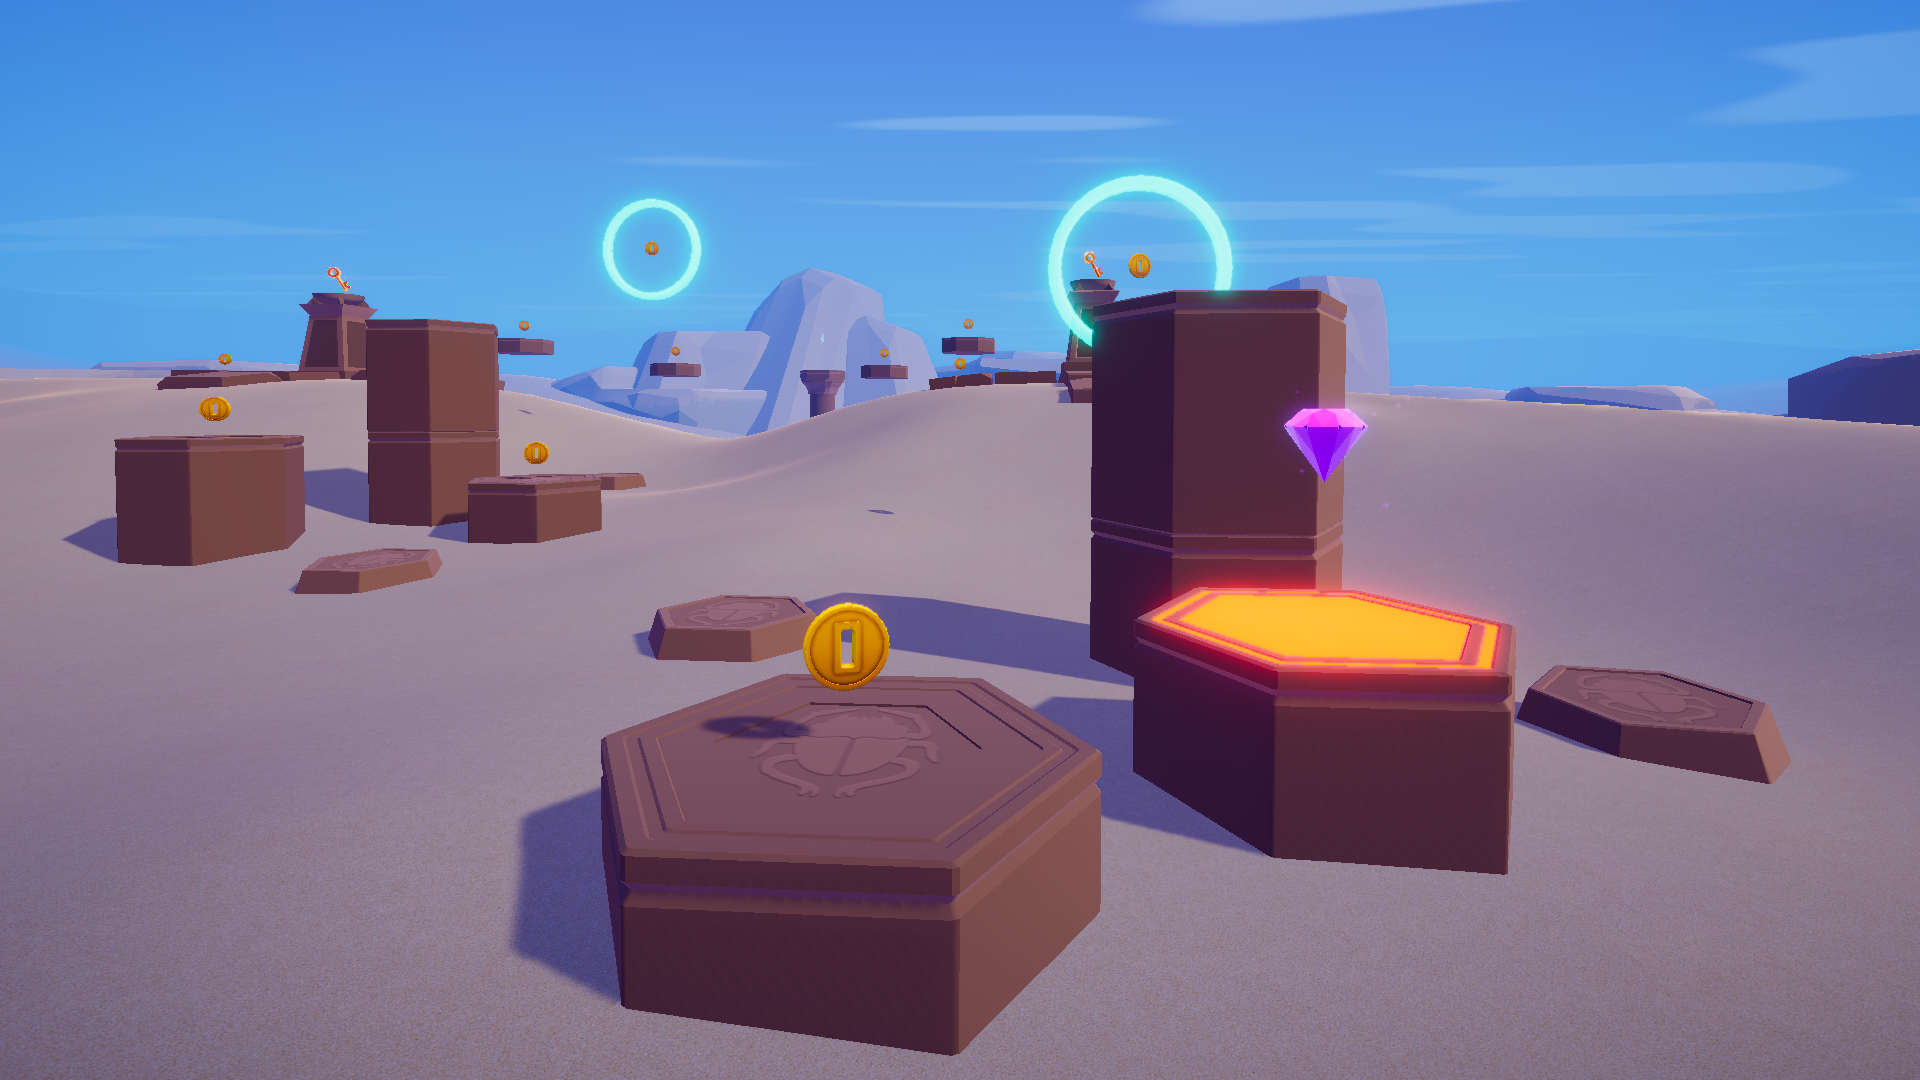
Coins are one of the three currencies in the game. Coins are used for unlocking new exploration levels in the temple (the game’s level hub). There are usually between 15 and 30 coins in a level. The coins are the easiest of all of the collectables to obtain, although the difficulty varies depending on the level. They are usually placed in positions that nudge the player down a certain path, or in positions that represent a minor challenge.
Gems
Gems are another currency in the game. Gems are used for unlocking new level areas of the temple. They are essentially what the player needs in order to progress through the areas in the game. There are between 1 and 3 gems in an exploration level, and these are usually placed in positions that represent a significant challenge, or in a position of significance to the flow or aesthetics of the level.
Keys
Keys are only present within levels, and are used for opening the level’s exit portal, allowing the player to complete the level and return to the temple. There are between 1 and 3 keys in a level, and as with gems, these are usually put in positions that represent a significant challenge, or in positions that are significant to the flow or aesthetics of the level.
Artifacts
Artifacts are the last of the three currencies in the game. There is one artifact in each exploration level. These can only be collected after all coins in the level have been collected. Artifacts are used for unlocking levels of the special game mode called Time Trial.
Avatar Capsules
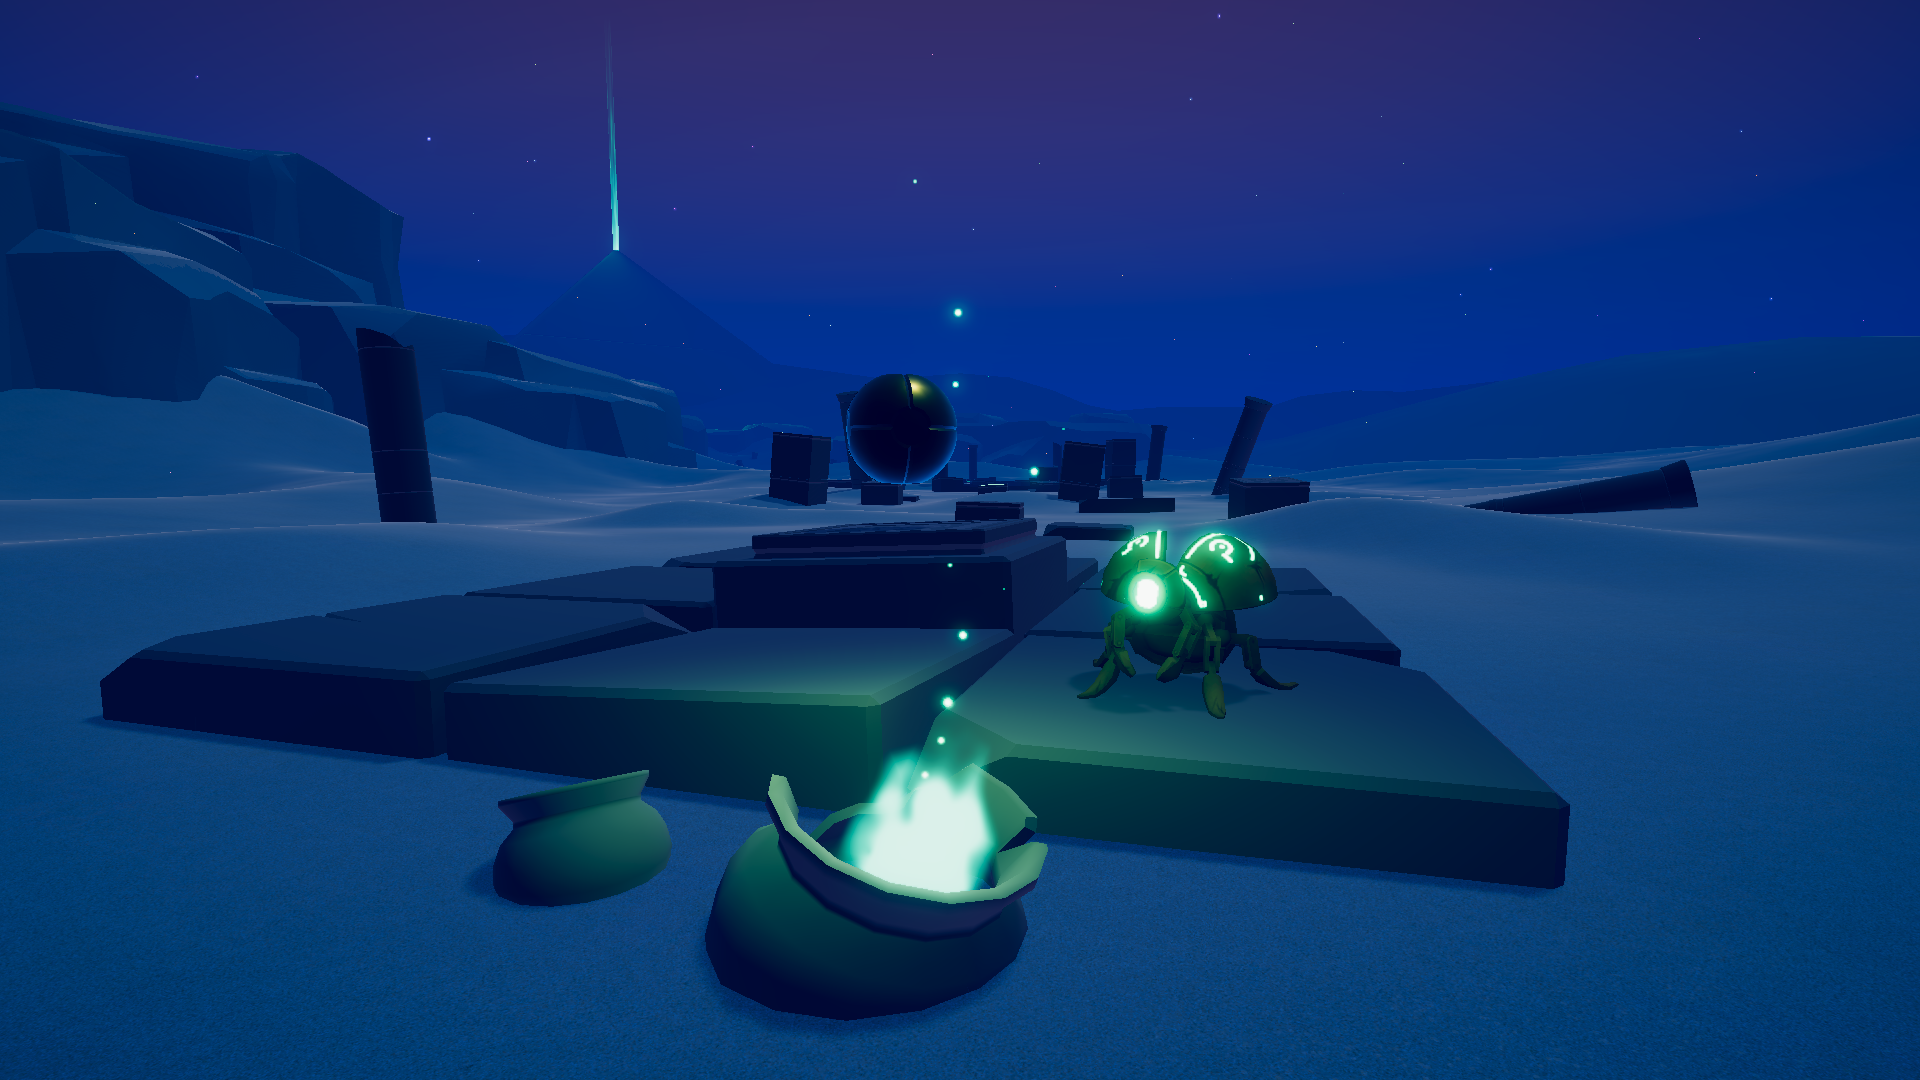
Every exploration level contains a hidden avatar capsule. In order to reveal the avatar capsule, the player must find a hidden button and press it. After the button is pressed, a new challenge is revealed within the level, where the avatar capsule is placed so that the player must complete the challenge in order to collect it. The avatar capsule will grant the player a new cosmetic skin for their character which is unique to that specific exploration level.
Level Design Guidelines
This is not a walk-through of how to design a Glyph Exploration level. There are many technical steps that goes into producing a level. This article is not about those.
The guidelines presented here are meant for you to have in the back of your mind throughout the level design process. They should give you guidance, clarity, and direction in your work as a level designer, and help you make good decisions along the way.
An Exploration Experience
Fundamentally, the Exploration game mode is supposed to give the player an exploration experience. As such, the goal when designing a level for this game mode, is to give the player feelings of curiosity, wonder, mystery, and in essence, a feeling of exploring.

Reward Curiosity
Invoking a feeling of exploring may sound like a vague target, but it is important to keep in mind when designing and testing your level. The player should be encouraged to be curious, and be motivated to want to explore.
Is the player being rewarded for being curious? Rewards for being curious can be anything from revealing a secret or collecting some coins, to reaching a vantage point that has an awesome view. Simply seeing an attractive collectable in the distance can invoke curiosity. “What is over there?”. “How do I get over there?”.
If there are many opportunities for the player to feel rewarded for exploration and being curious, there are good chances that you are on a path to having designed a good Glyph Exploration level.
Freedom & Hand Holding
With exploration levels in particular, it is important to strike a good balance between giving the player enough freedom to explore and pick their own paths, while also making the level navigable. By making a level navigable, I mean making sure that the level does not come off as a confusing mess where the player loses track of what is going on, but more importantly, keeping a display of established paths, so that when the players do divert from these, they will be more likely to be aware of it. Making the player aware of the possibility to divert from established paths is important in order to give the player a sense of being the captain of their exploration experience. They should not feel like they are locked in for a ride.
We learned early on that levels that only had a few long linear paths made for a poor exploration experience, while levels that were more open and had several paths in various directions, perhaps even with interconnected challenges, made for much stronger exploration experiences. Primarily because the player had more choices, and therefore curiosity became a larger factor in the players’ decision making. It is however a balancing act. If there are too many choices for the player to pick between, there’s a risk that the player may feel like the choice doesn’t matter, and that it becomes too cumbersome to asses the choices and weighing them against one another.

Build a Challenge Identity
A level’s challenge identity is a way of describing the nature of a level’s challenges. Keeping a sharp challenge identity can help strengthen a level’s focus, make it more memorable for the player, and make it easier to make informed decisions along the level design process. Consider how you will design your level to deliver a focused experience based on a range of challenges.
Ask yourself: How can these types of challenges compliment each other? How would you present these challenges with varying degrees of difficulty? How can these challenges be designed within the level to strengthen the experience of exploration? Defining a level’s challenge identity early on in the process can be a useful way to keep yourself on track to creating a great level.
A way to start designing a new level, can be to start with an idea for a type of challenge, or set of challenges. The idea can be based on an experience or type of gameplay you want to bring out. Block out these key challenges, test them, and iterate on them until they work well, and then build the rest of the level around them. That is of course just one apporach, but it is one we’ve come to learn works really well.
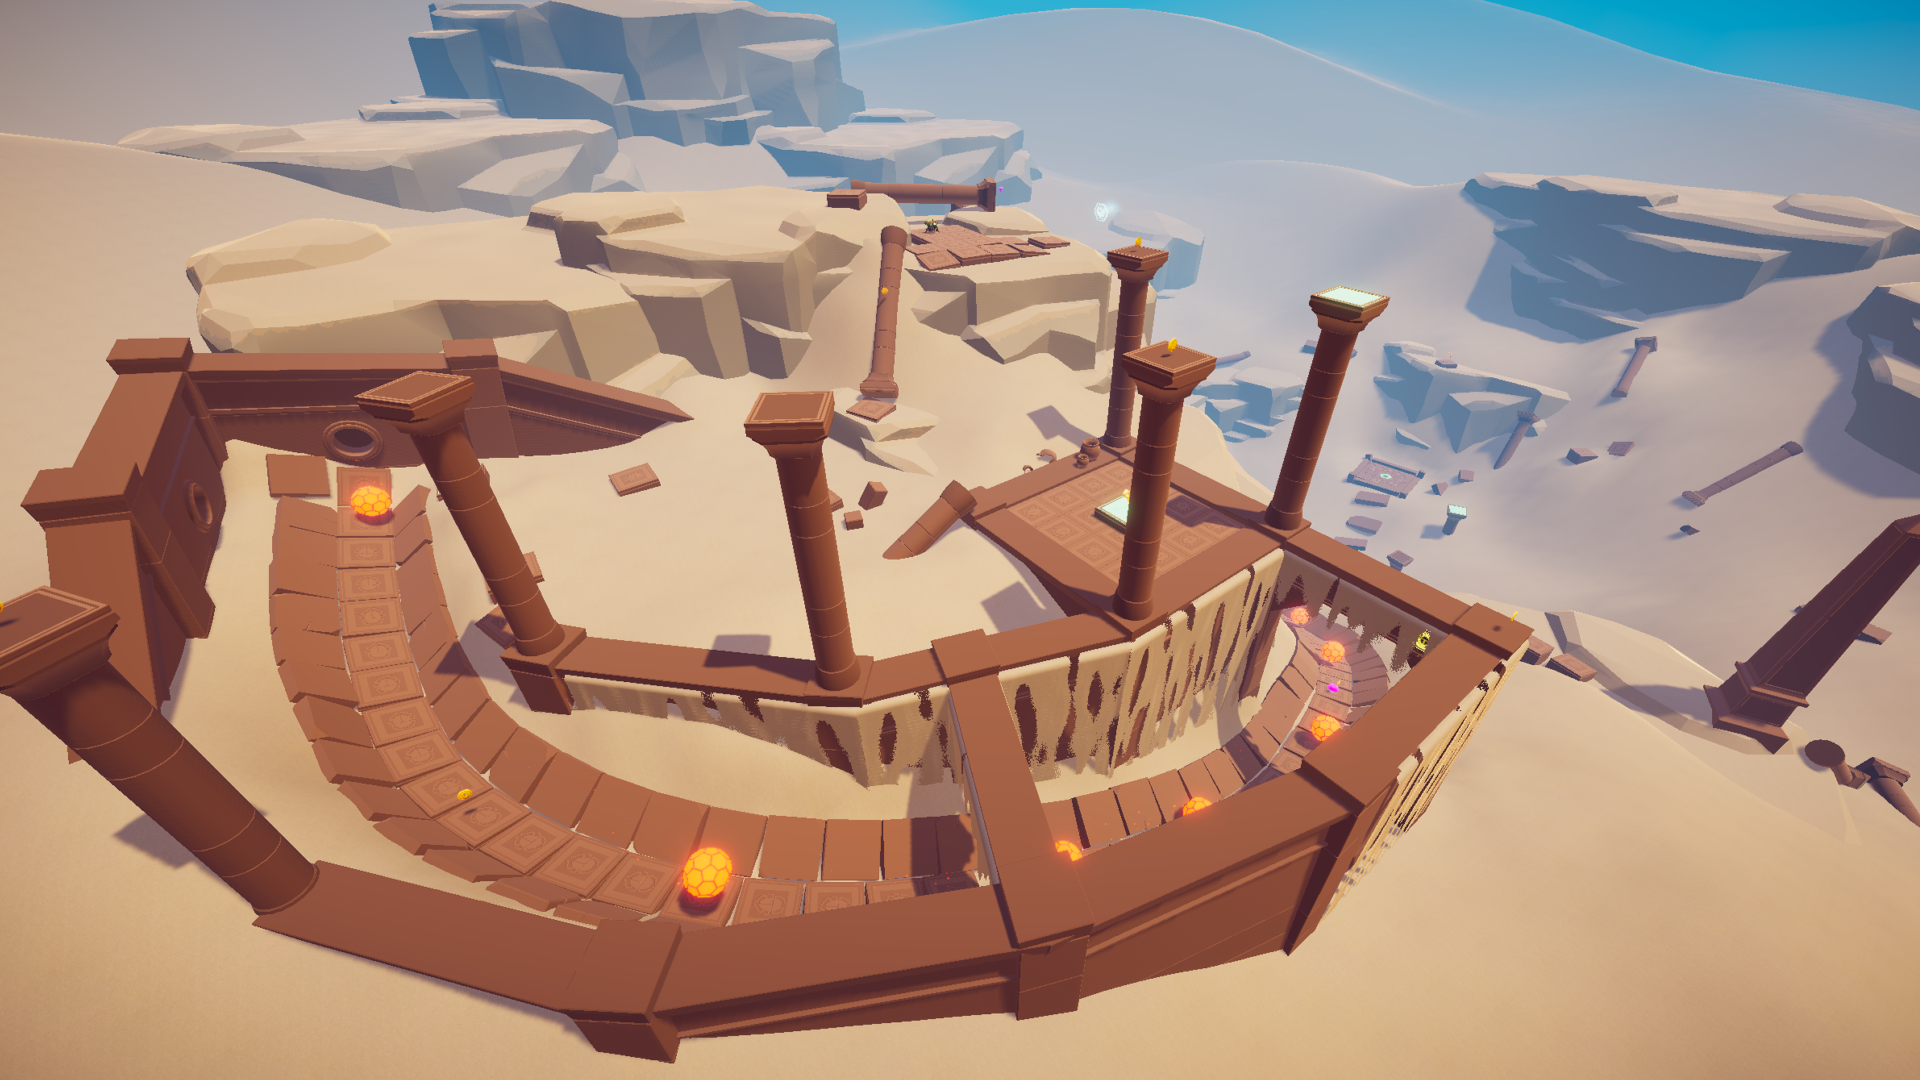
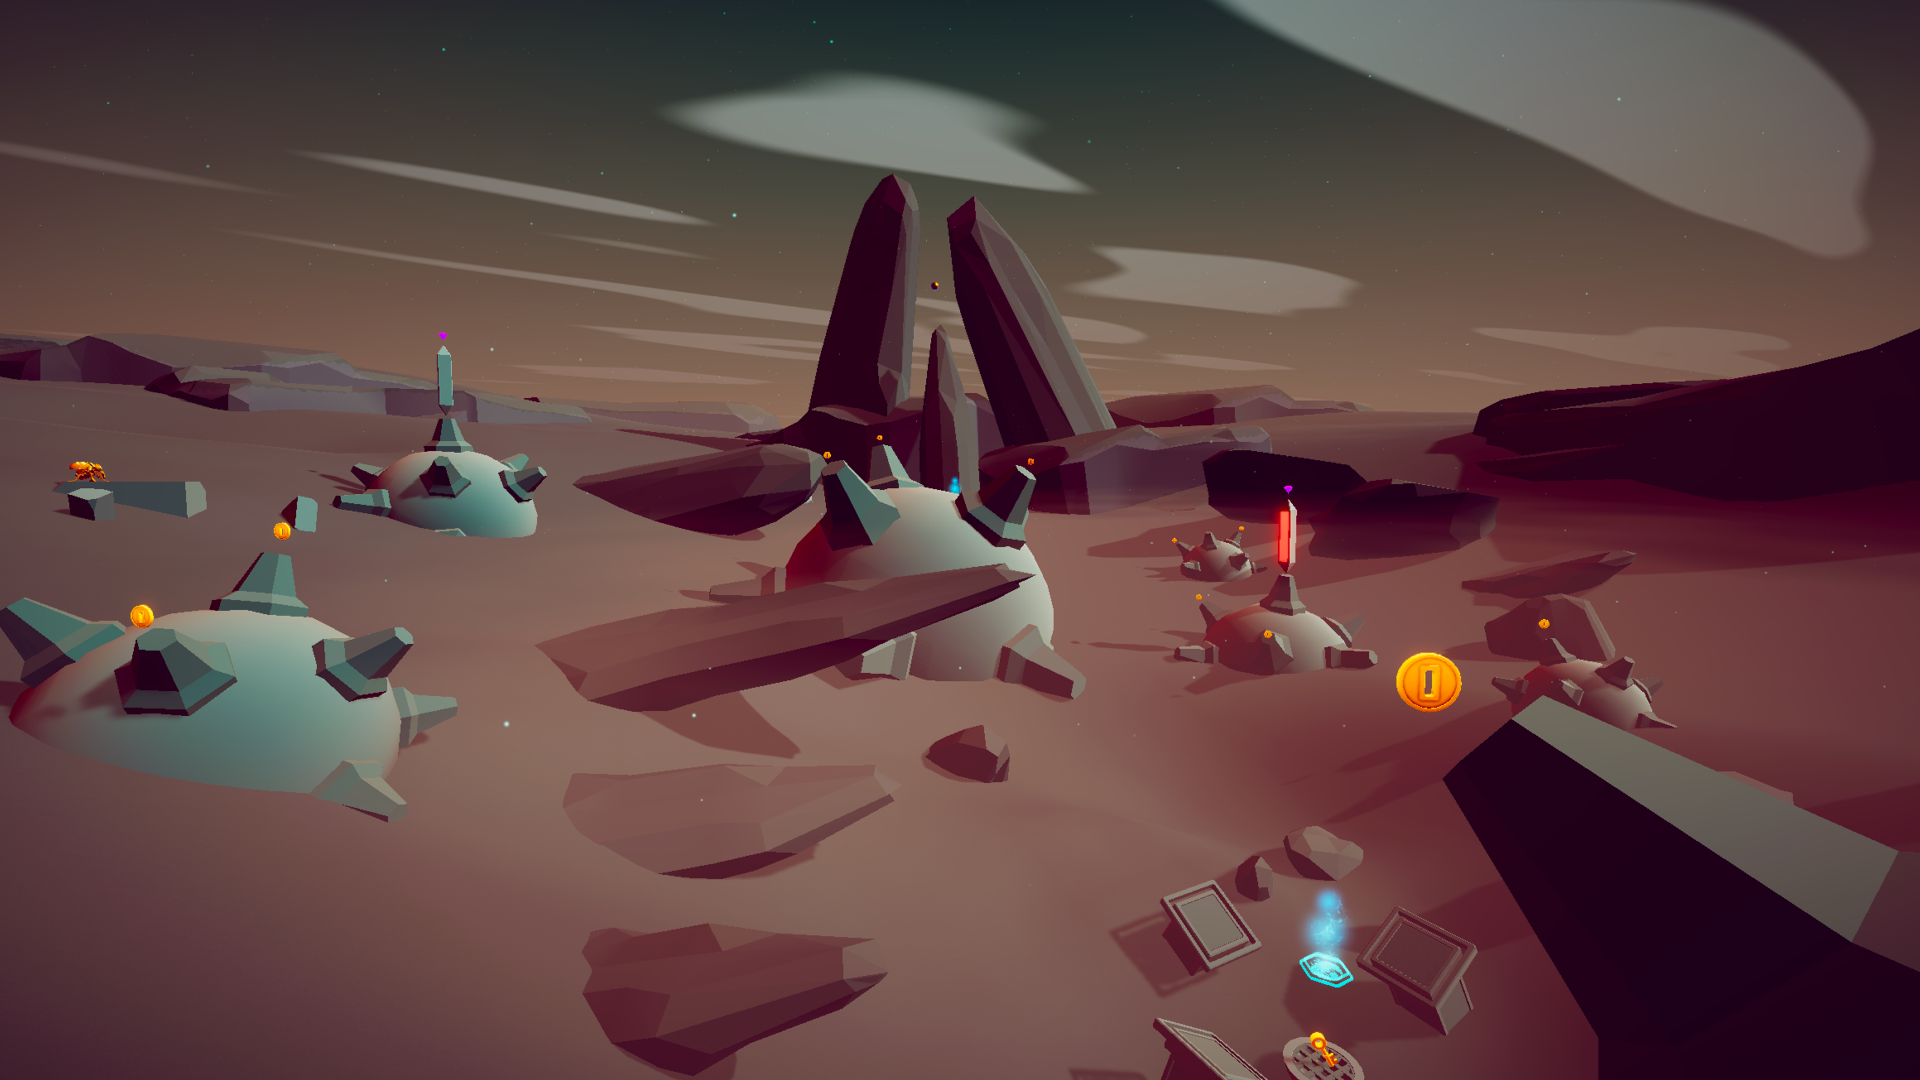
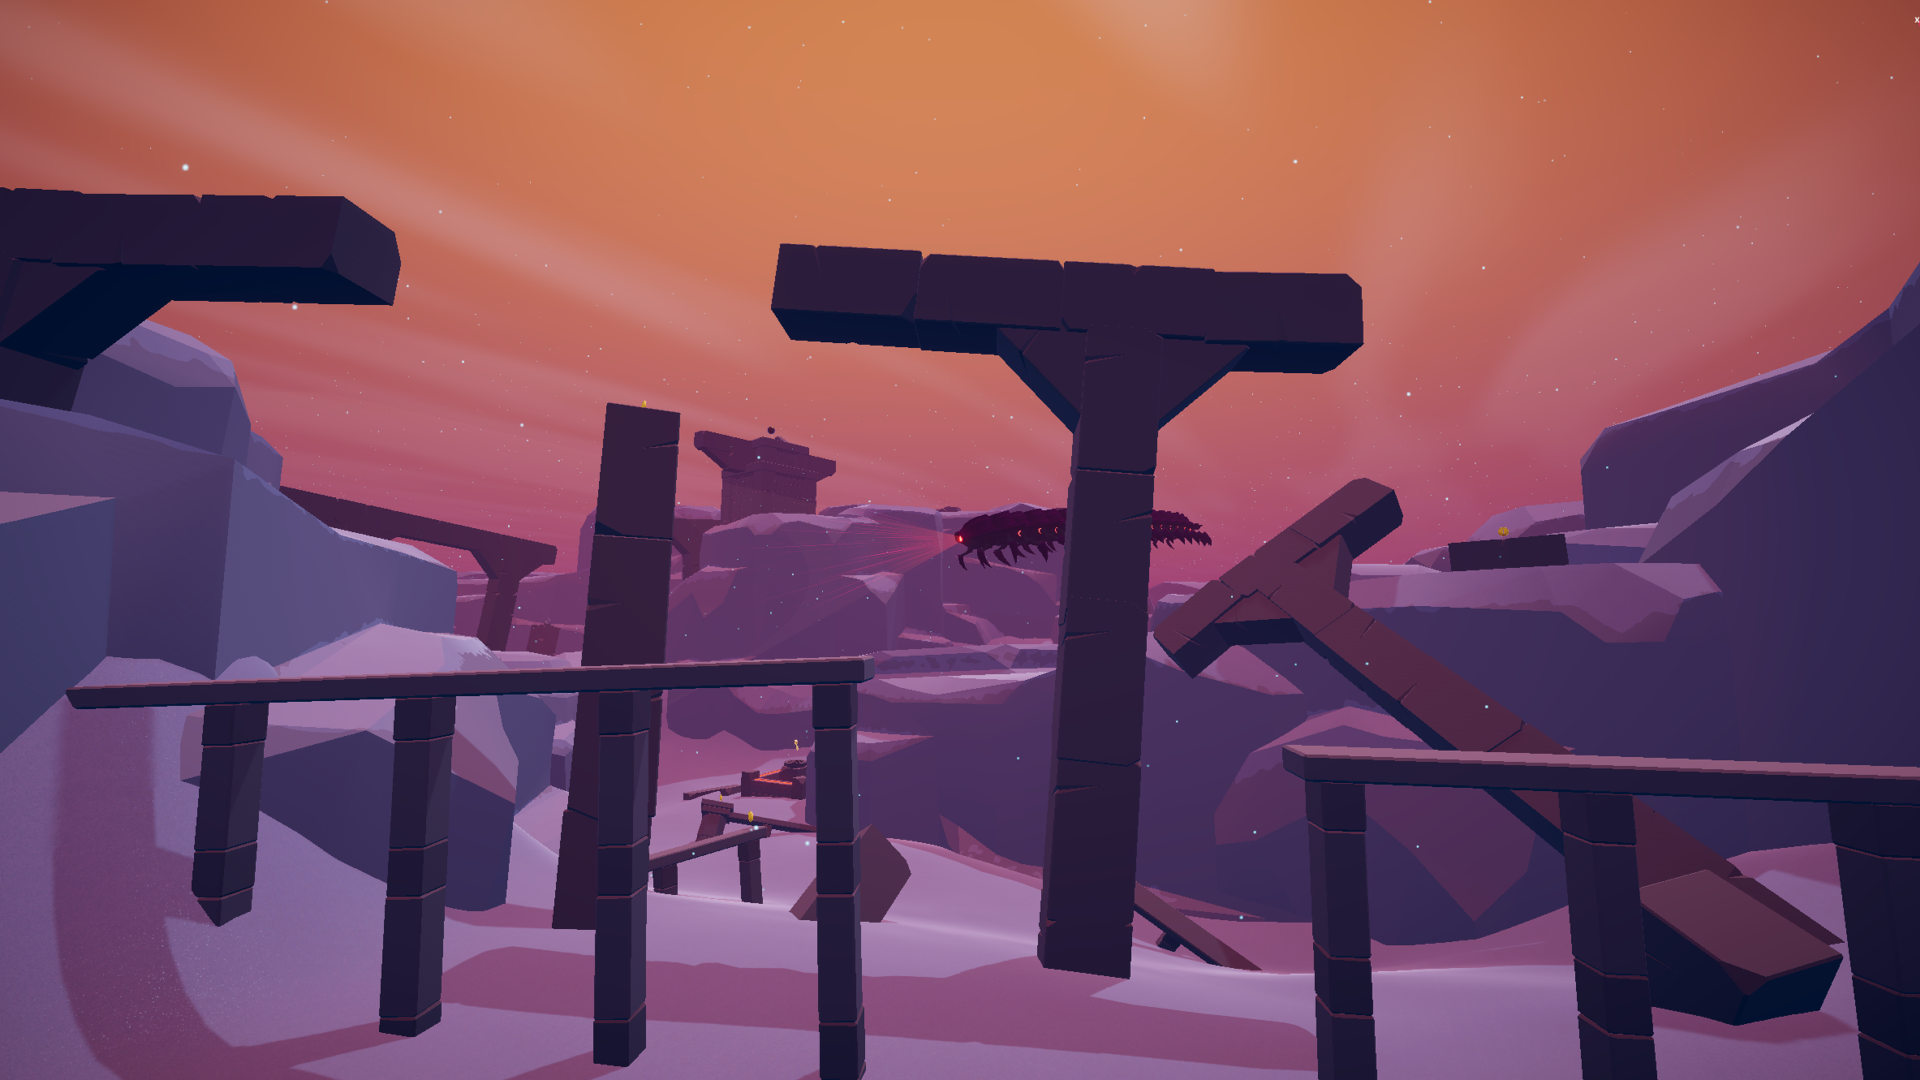
Precarious Peak. This level has a strong challenge identity with its snakelike path where molten boulders roll down while deadly sand is falling from the walls and momentarily covers the path towards the peak.
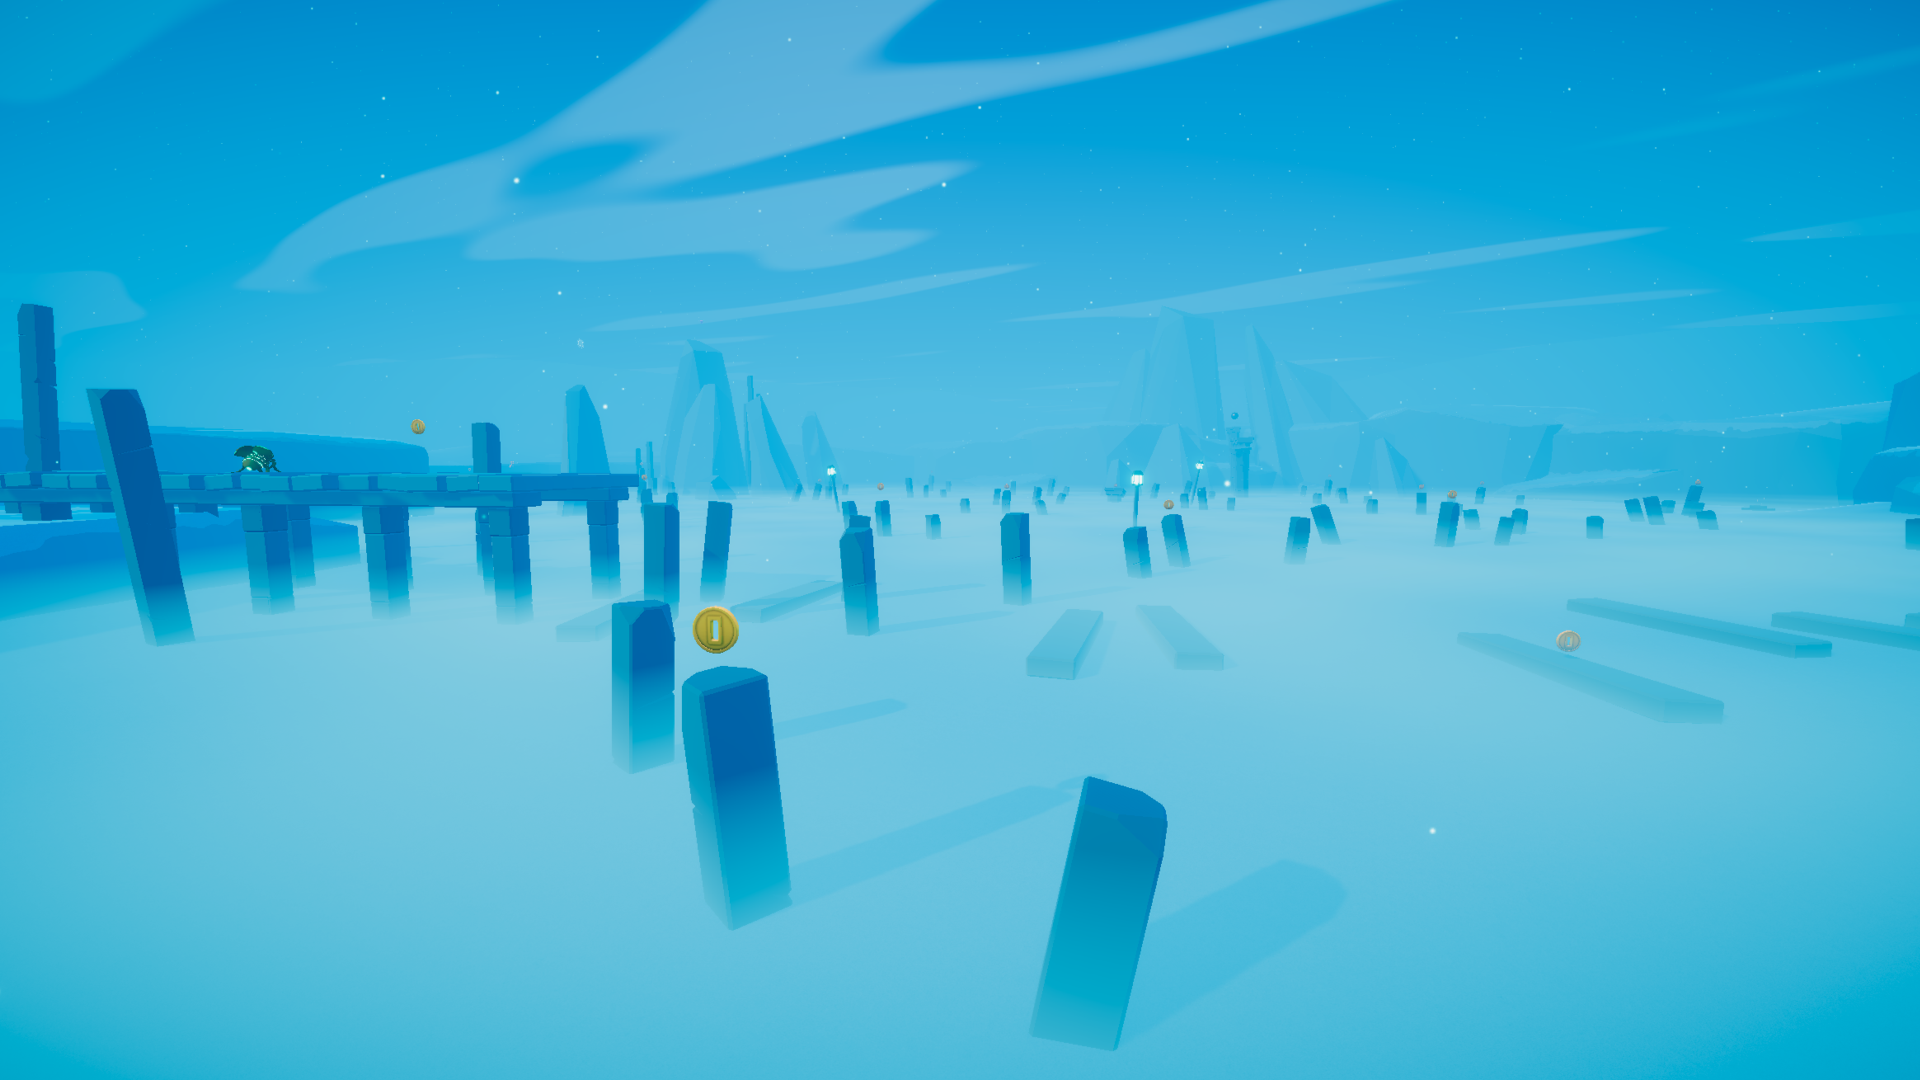
Frigid Lake. Although simple, the challenge identity of this level is clear and to the point. Slim poles protrude the ice of the frozen water and the player must balance carefully from one pole to another while the threat of the deadly ice lurks just below the fog, leaving little room for missteps.

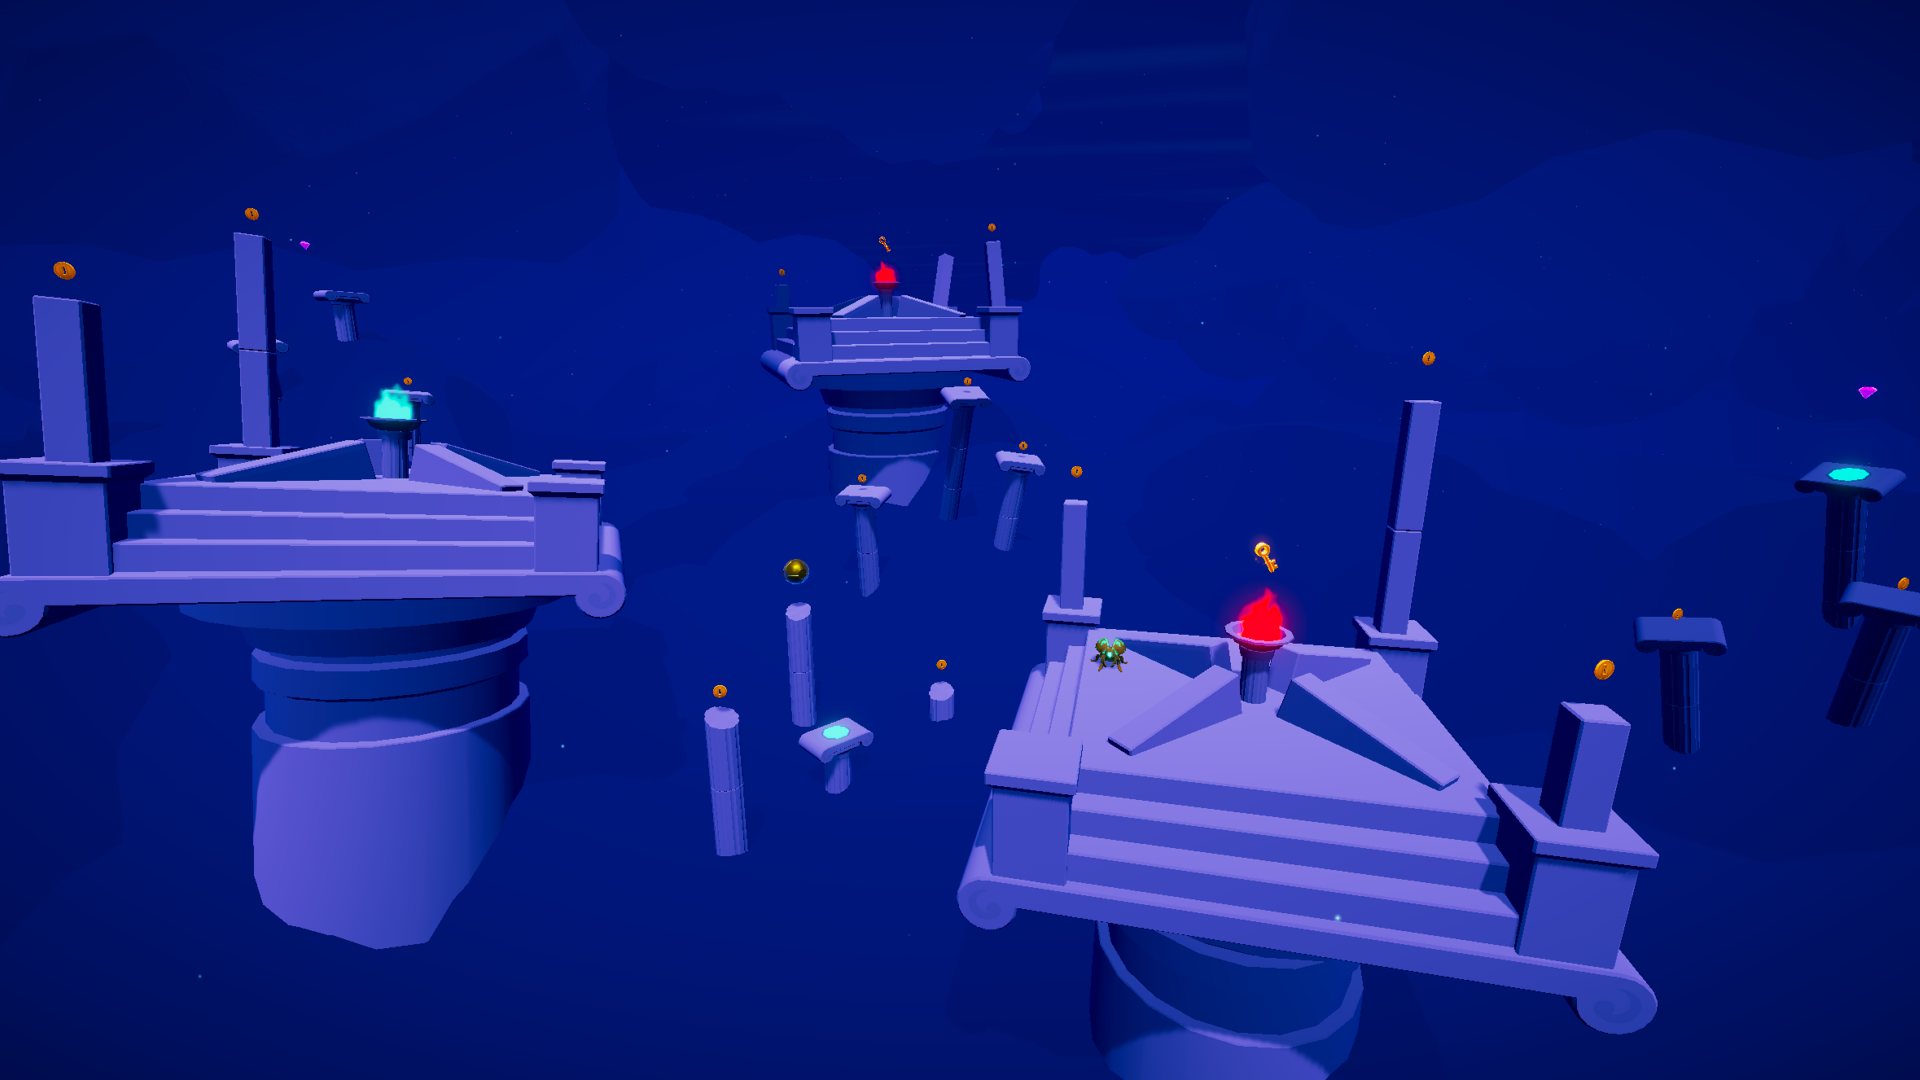
Celestial Steps. Guardian bots are protecting the collectables in this mazelike stairway in the clouds. The challenge identity of this level is strong despite its simplicity and limited range of level element types used. Climb the stairs, trick or exploit the guardians, and see if you can avoid getting lost in the escheresque maze of stairs.
Collectable Placement
Placing collectables is central to designing a good Exploration level. Use the collectables as rewards for overcoming challenges, as a tool to nudge players, and as attractive carrots for players to set goals towards. The collectables form a web across your level that players will do their best to navigate. Collectables can be used to establish points of interest in the level, to form paths for the players, and to make the challenges meaningful to the players.
Players will immediately set goals towards collecting, and as such, it is important that the placement of the collectables creates the opportunity for the player to take on an entertaining journey in your level. Where do you want the player to go? What areas do you want the player to see? What routes should be viable and to what degree is the player rewarded for following these, and also diverting from these? Minor adjustments to the placements of collectables can result in drastic changes to how the players navigate your level. From moment to moment, players will often go for what collectable is closest by regardless of its value, but when picking a general direction, they can often be steered towards something of higher value such as a key or a gem. Keep these things in mind and use them to strengthen your level.
Think The Presentation Through
Your level’s presentation is important not only in order to make your players curious to explore it, but also in order to communicate the level’s identity to the player. Its layout, its points of interest, and its atmosphere (even as vague as that sounds), are all things that the player will register and attempt to make sense of. Glyph Exploration levels with a good presentation stand out, they are memorable, and the challenges that the level presents are brought into the spotlight by the level’s aesthetics, architectures, and layouts. There should be harmony in the level’s presentation, and as the level’s designer, you are also the storyteller, the artist, the architect, and the person ultimately responsible for what gameplay experiences the level can provide.
A Glyph level with good presentation represents a place in ruin that seemingly once had a purpose, even if that purpose is shrouded in mystery and is totally unclear to the player. It must look like a place, even if you don’t even fully understand the place yourself. When I say place, I mean that it should not come off as just a video game level, but a place where things once happened. A place where whatever beings went there once, did things. An illusion must be built. This illusion will help convince the player that they are exploring places, not simply a level designer’s canvas.
As much as box art material with beautiful vistas in your level can be great, keep in mind that the gameplay comes first. Reaching a point where your level achieves that extra level of polish that makes it stand out visually can often be achieved after the gameplay is nailed. As long as you are working to figure out and nail down your level’s gameplay, avoid getting strung up in visual polish.

Settle On Difficulty
Settle on where on the difficulty scale you intend to place your level. You don’t need to know right from the start, unless you walk in with a plan to design a level for a specific difficulty right from the bat. Making a decision on the level’s difficulty can help you tremendously when testing and working to improve your level along the way.
It is too easy to think “That player is really having a hard time on my level. I guess my level is going to be one of the hard difficulty levels then.”. That does not mean that your level is a good hard difficulty level, and I’ll go as far as saying that it would be poor design process to dance around the problems that way. We have been guilty of this approach, and we have also seen how it undermined the potential of some of our levels.
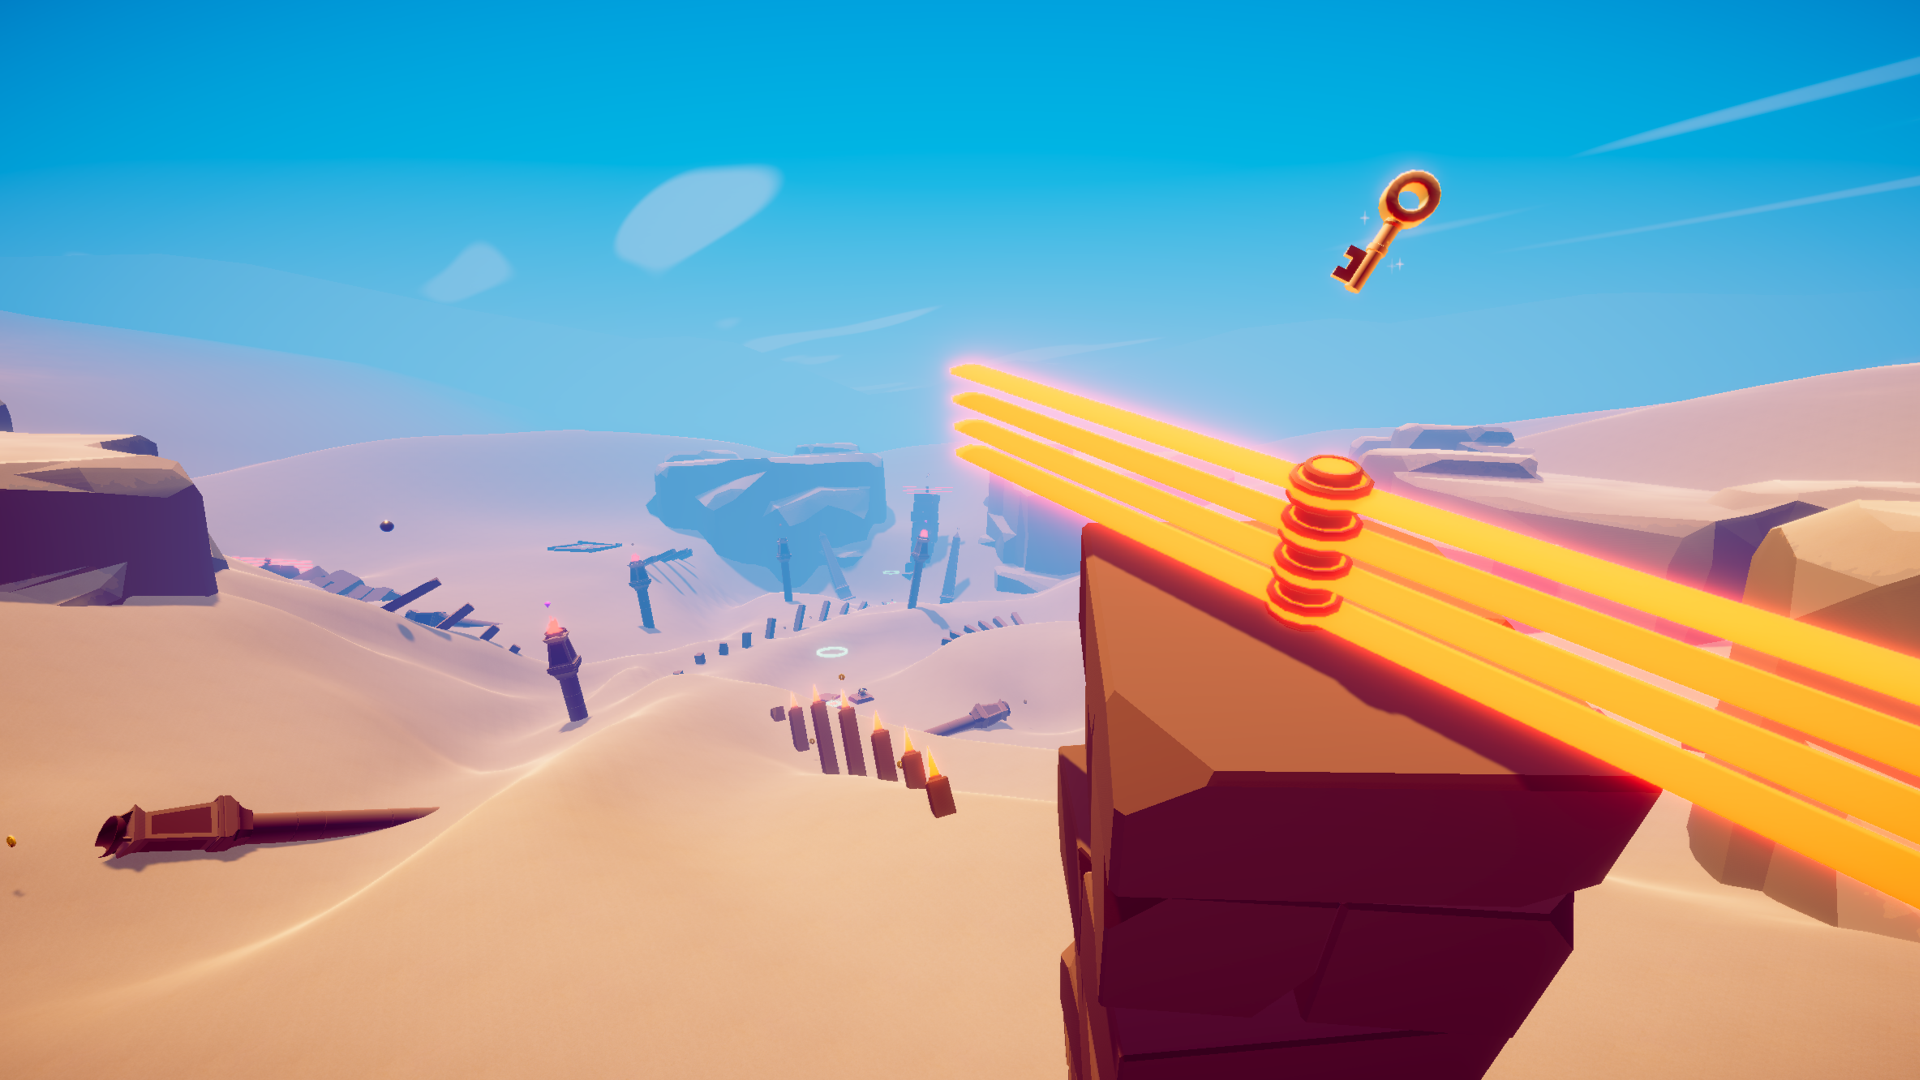
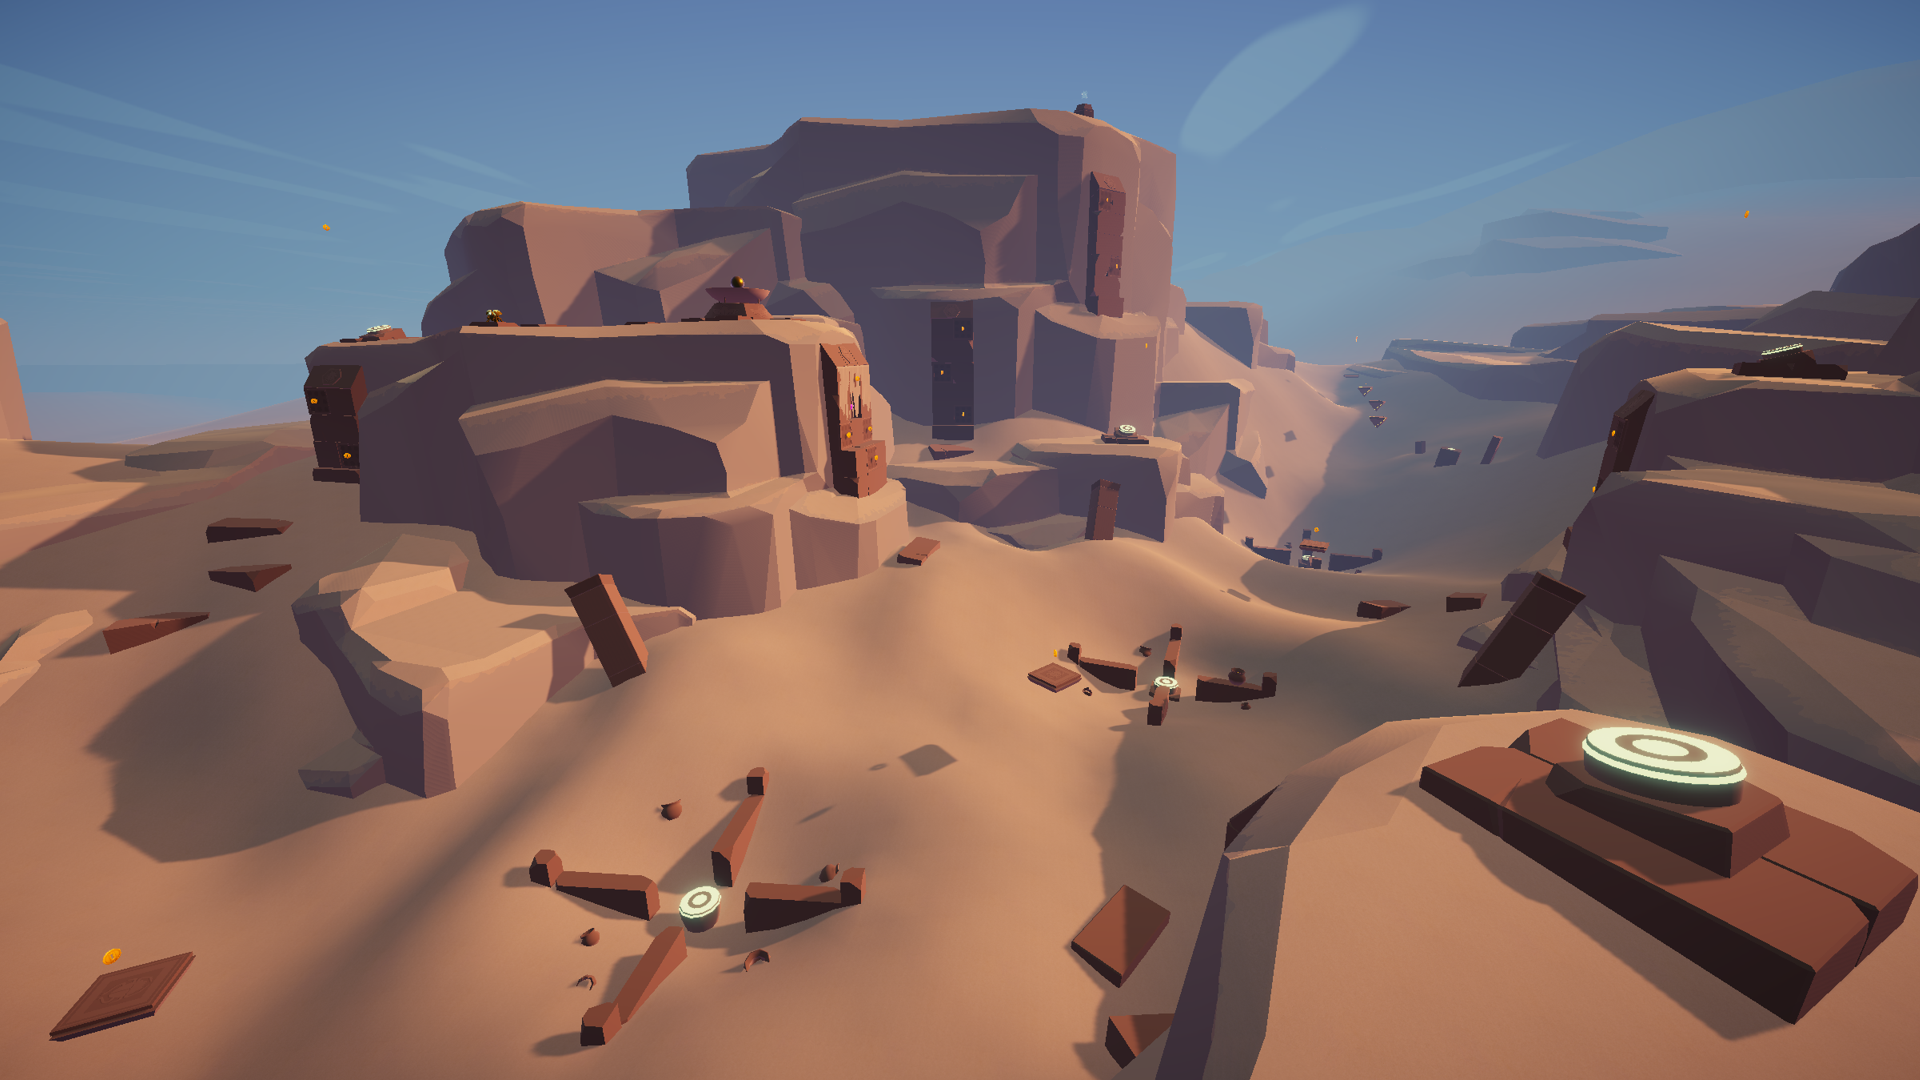
Jagged Valley. One of the absolute hardest Exploration levels in Glyph.
Test Often
It should go without saying that testing your level is important, but this point must not be understated. Test often yourself. Test often with others. Test often with all kinds of people if possible. Observe what the players do and take notes. If there is one of these guidelines that will truly improve your level, this is the one.
Giving someone the controller and saying “Try my level” and hear if they like it, is not enough. Think about, and perhaps write down, what you want to happen, what you expect to happen, what you don’t want to happen, and what questions you are looking for answers to. You should listen to your players, but more importantly, you need to observe!
When you observe what the player does, look for positive and negative patterns. Sometimes you’ll find that players struggle with the same things over and over, and perhaps that the design of your challenges is flawed, or that the general arcitecture of your your level should be thought over and adjusted. Other times you may find that players are having a great deal of fun in your level with things you didn’t intend for them to. If possible, look for ways to use that to the level’s advantage and build upon it.
Play Glyph A Lot
When designing levels for Glyph, you will benefit greatly from being good at the game. If you’re not outright good at it, then at least make yourself familiar with the game’s mechanics. Knowing the strengths and weaknesses of the game can save you a ton of time when you design, test, and iterate on your level. Knowing the levels that are already in the game will also help you make your new level stand out. You will have an easier time knowing when you are reaching something that is new and has potential.
This is not to say that you can’t come in as a fresh brain completely new to the game and take stabs at creating levels after having played only for a few hours. We’ve had that happen before and it can result in interesting levels and sometimes awesome gameplay. It can be an uphill battle though. Getting the gameplay of Glyph under your skin and studying the existing levels can help make the process of designing levels for the game feel natural and give you confidence in your work.
When you become experienced with Glyph, you need to be aware of the fact that you may become blind to certain things such as the difficulty of the level you are designing. This is important to remember. Test your level with others.
Guidelines Aren’t Laws
These are guidelines. Not laws. Sometimes going nuts with an idea and working on something that is out of the usual can bring with it opportunities for fantastic gameplay. That should not be barred off or discouraged. It is however important to understand the guidelines, not only as advice tailored to help ensure the game is keeping on track with the vision set for it, but also in order to better understand where, when, and how to make something crazy become brilliant when jamming “outside the box”.
Thank you for reading!